Featured Image: Elise Sterck
October is when leaves turn from green to vibrant yellows and reds, spooky season commences and we finally start to see cooler days—maybe even some flakes in the high hills. But for skiers, it marks the final countdown for our favorite season. This week is especially exciting, with significant snowfall across the west and many resorts set to open in the next couple of weeks.
But just like how some people start decorating for Halloween in August, skiers can also start celebrating and getting ready for the season early by digging out that pile of skis that’s been collecting dust in your garage all summer.
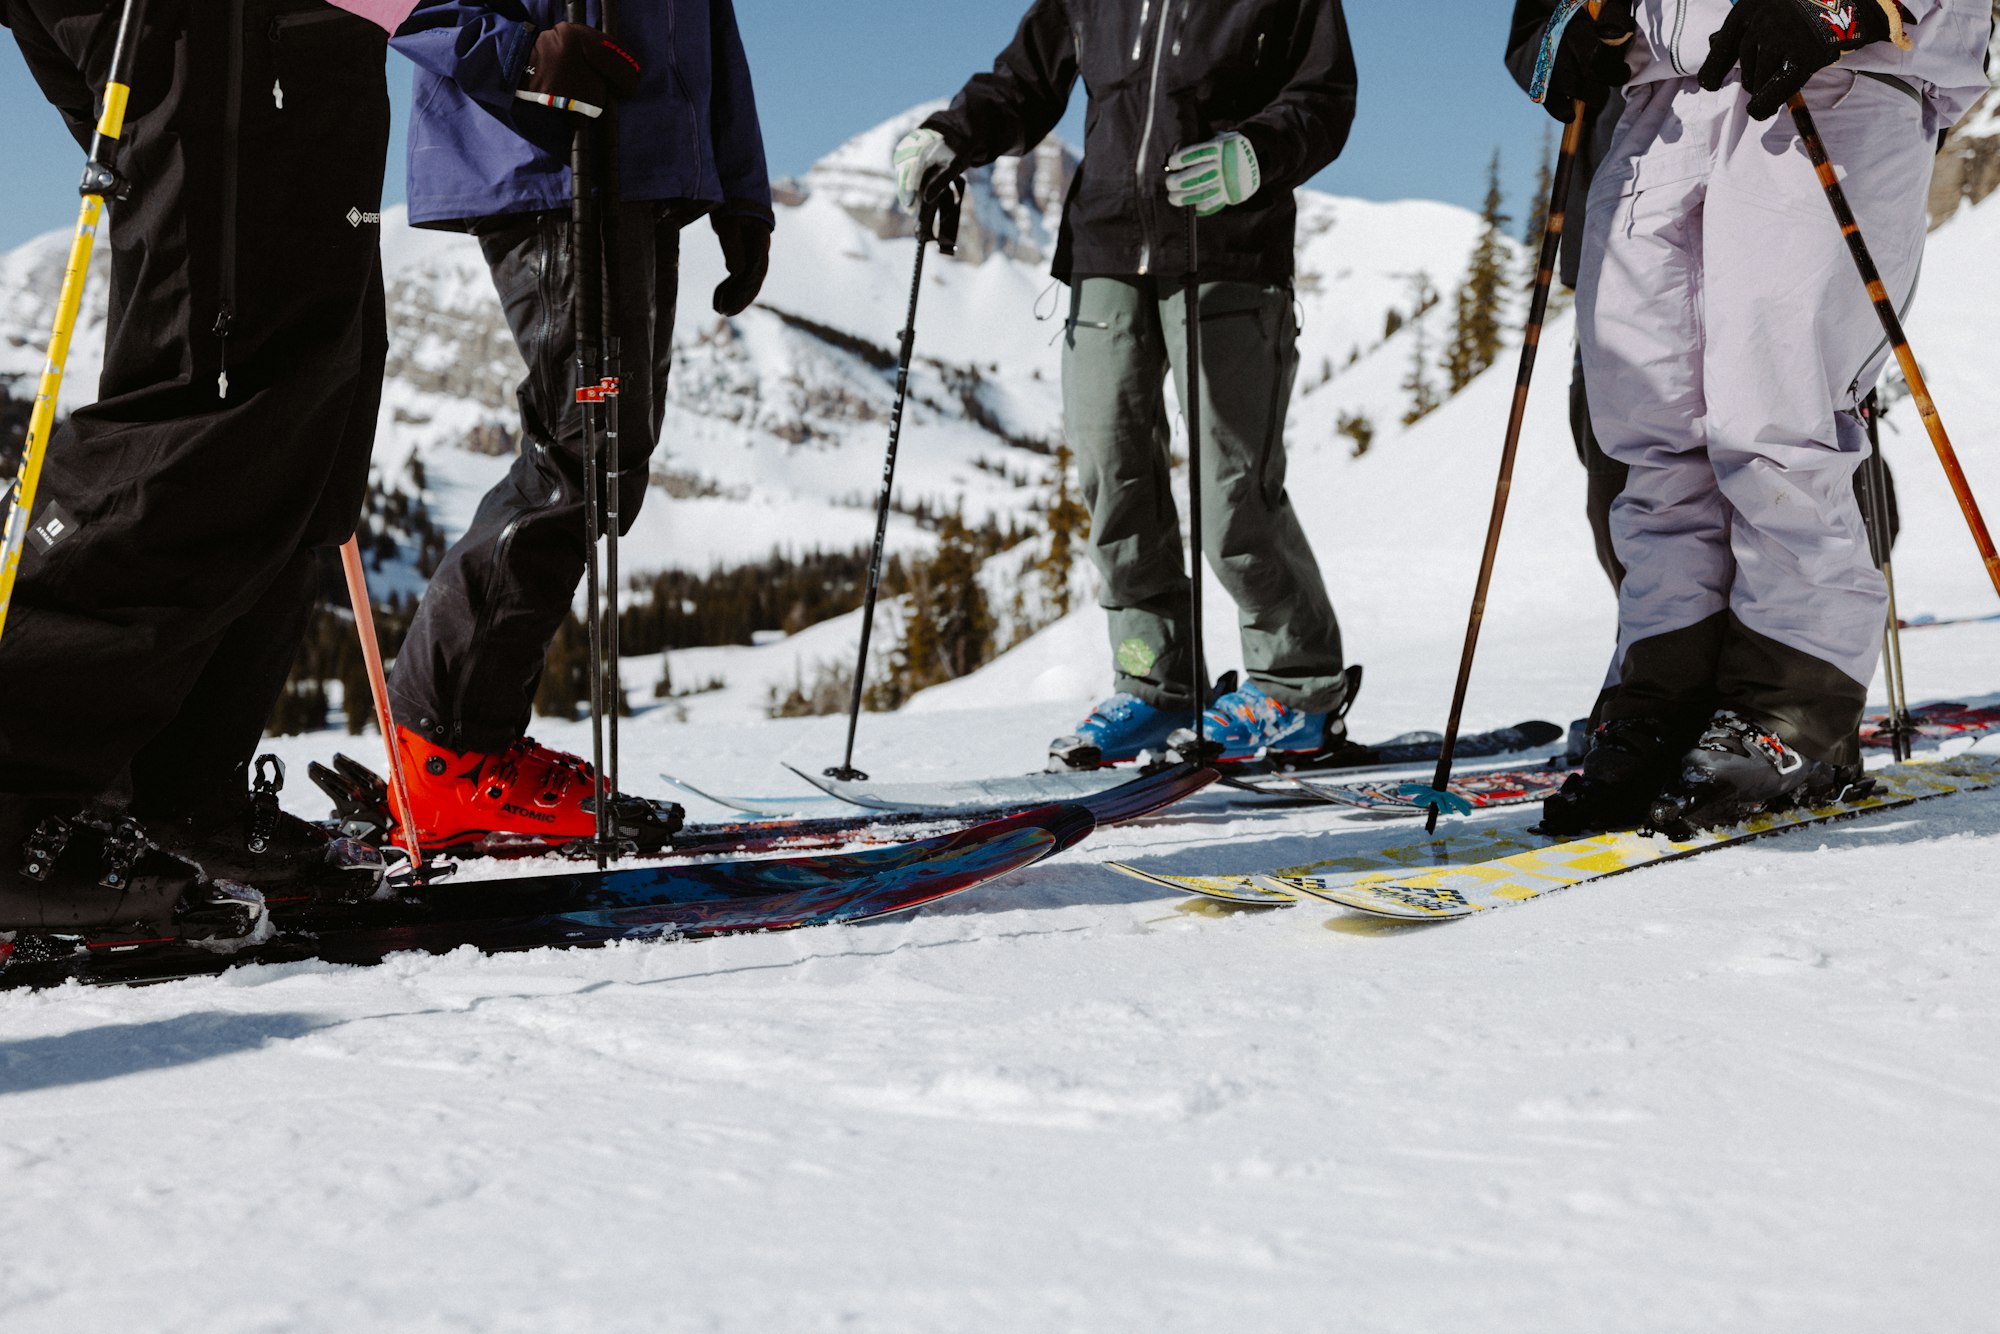
Our skis are precious, and you wouldn’t just throw your favorite sticks into the snow without some tender love and care, would you? You’d take your time and make sure they're prepared. 'Tis the season to give your skis some love, so they're ready to rip on opening day. This all starts at your local ski shop or homemade work bench.
Skis

Photo: Elise Sterck
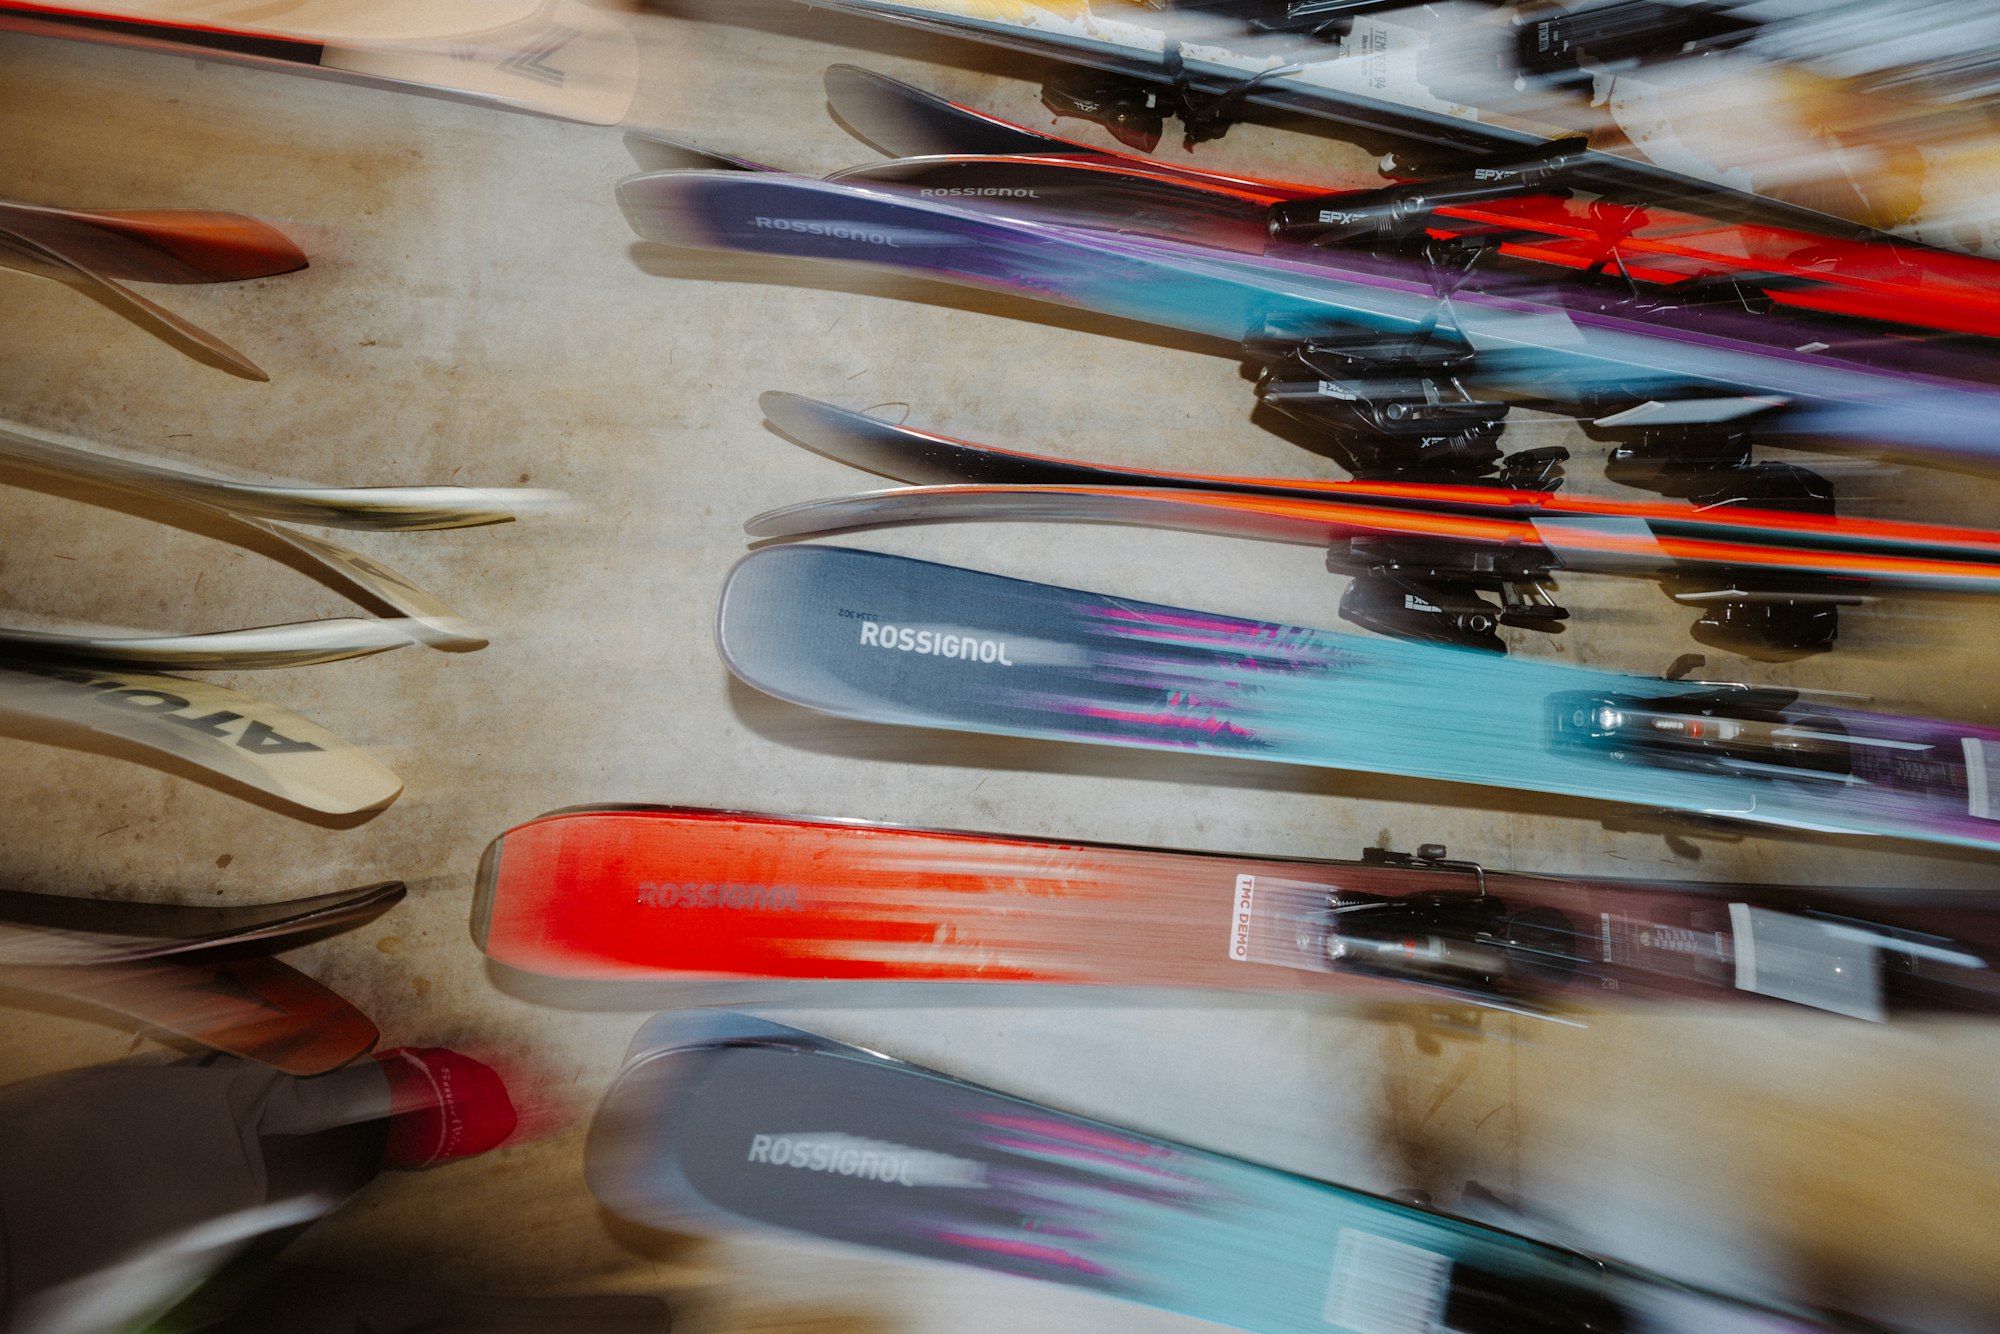
Photo: Elise Sterck
Your skis are inevitably gonna get a little dust and rust in the off-season. But that’s no reason to freak out. You can prep your skis in two ways: take them to a shop or do it yourself with the right equipment.
First off, if you gave your skis a coating of storage wax before putting them in hibernation, scrape that extra wax off with a scraper from tip to tail. Storage wax helps prevent oxidation and keeps the base hydrated, so you don’t get that dry, chalky look on your bases. This doesn’t mean that’s all you have to do, though. After you scrape the storage wax off, use a stiff brush and, if you have one, an edge tool to clean off excess wax from the base, sidewalls and edges.
Edges
Next, sharpen your edges before waxing. Many recreational skiers over-sharpen their skis, removing more edge material than necessary without removing base material, which causes an imbalance in base and edge height. This can affect your edge response and cause issues like hooking or catching an edge.
The easiest way to see if you even need to sharpen your edges is by running your fingernail lightly across the edge at an angle. If the edge shaves off a tiny bit of your nail, leaving what looks like white dust, it's sharp, and you don’t need to sharpen it any further. If your fingernail slides across smoothly without any nail dust, it is time to sharpen.
But sharpening edges isn’t something you can breeze through, and if you're not a ski technician, you need to do your research. Many at-home ski tuners don’t differentiate between the side edge and base edge, which can change your skis' bevels and affect their responsiveness and sharpness.

Photo: Elise Sterck
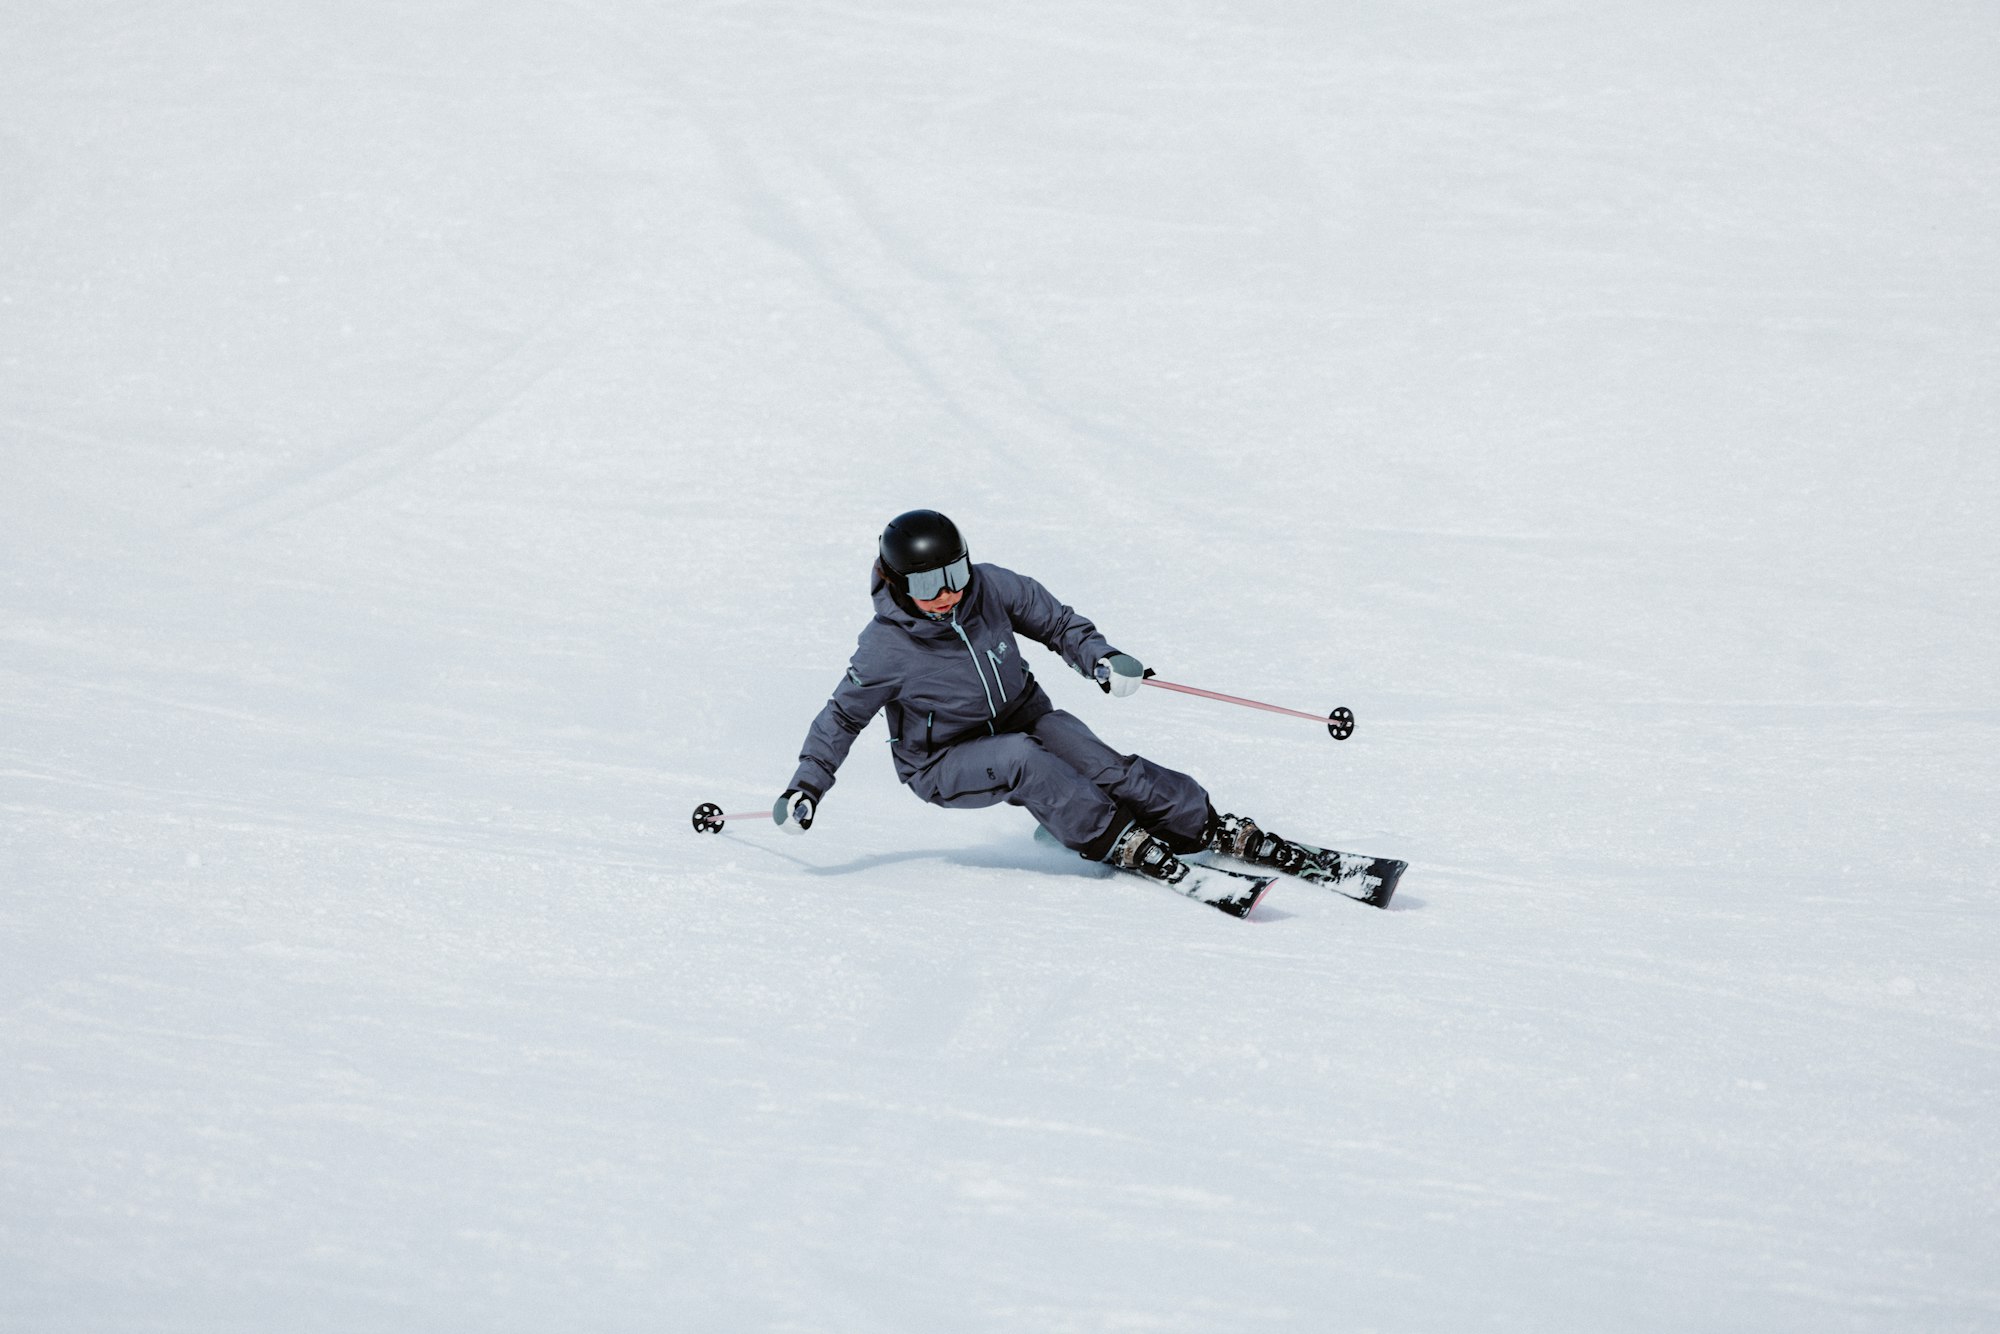
Photo: Elise Sterck
Your skis' side edge and base edge are beveled differently. The ski edge affcets the grip and hold. The base edge affects how far the ski needs to be tipped before the edge makes contact and engages. Focusing mainly on the side edge for small edge tune-ups is perfectly fine, and if you really need your base edge touched up, we recommend taking your ski to a shop with certified technicians.
If you do it at home, first you’ll need to gummy-stone your edges to remove rust and smooth them out. Most manufactured skis come with a 1- to 3- degree factory side bevel. This means the side edges have an 89-, 88- or 87-degree angle. Always use a file guide with the appropriate bevel angle to sharpen the skis side edge, or use a fixed file guide for more accuracy.
Attach a bastard file to the angle-indicated side of the file guide for consistent contact with the edge. You don't need to press hard when sharpening your edges; in fact, you shouldn't. Use a soft and light motion to move the file guide with the bastard file along the side edge from tip to tail. You only need to do this motion around five times. Then, once you feel your edges are sharp enough, use a diamond stone fixed to the angle-indicated side of the file guide to give them a polished finish.
Waxing

Photo: Courtesy of Unsplash.com
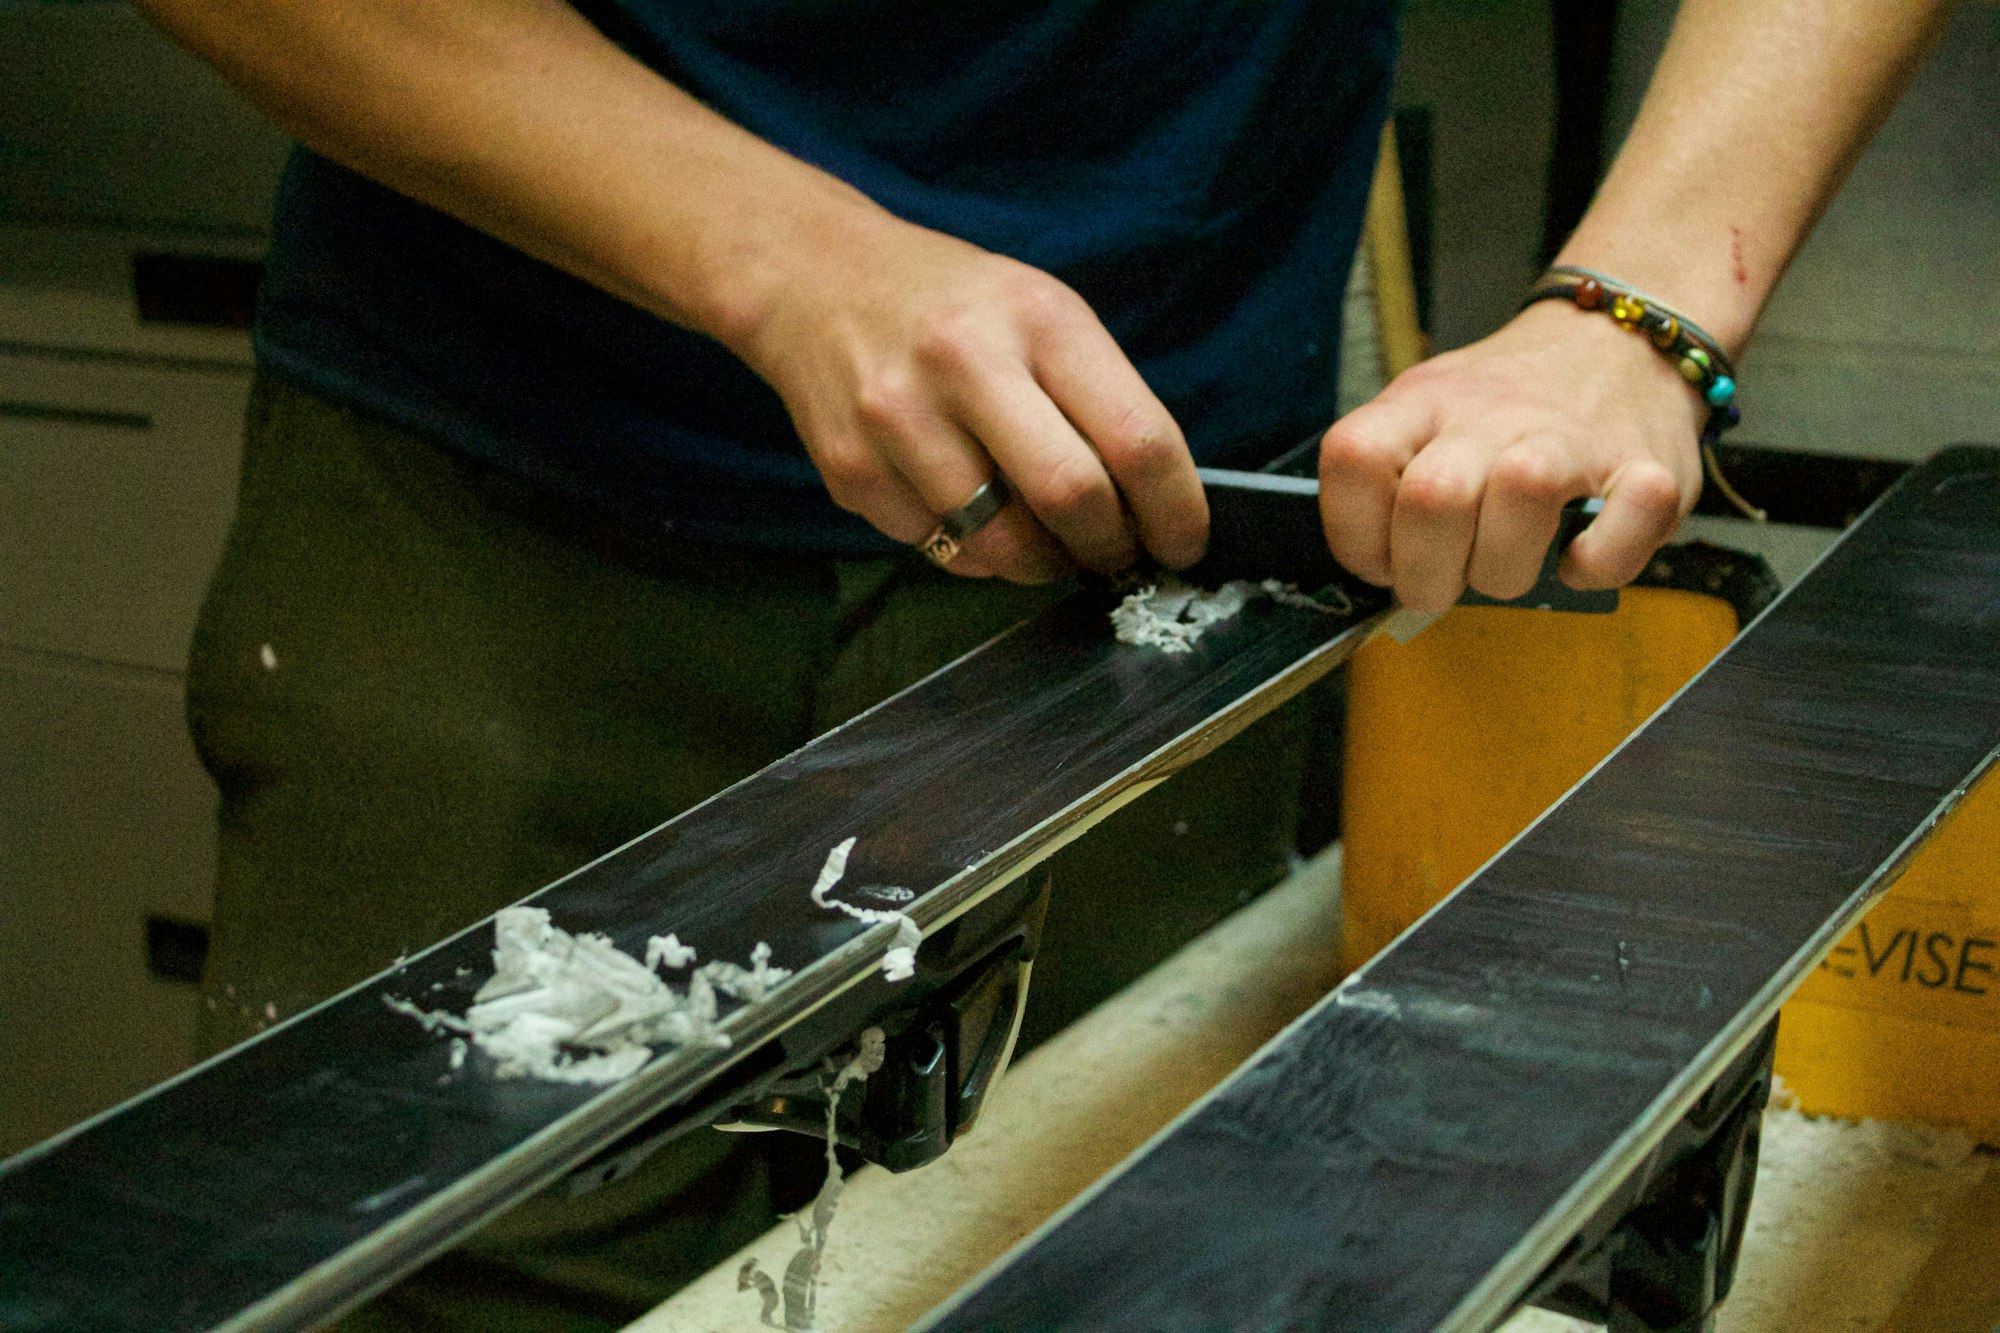
Photo: Courtesy of Unsplash.com
Now, if you want to get really fancy, or if your skis collect a lot of dirt and dust in storage, you can use a cleaning wax and scrape it off while it is still hot to remove grime. Or you can use a soft base cleaner and microfiber towel to deep-clean your skis after sharpening the edges.
Then choose a wax. Most people use a universal all-temperature wax, but you can use a temperature-specific wax, if that's more your jam. I'd consult a ski technician or do some research before deciding.
Once you’ve chosen your temperature, drip the wax onto the base by sliding the wax stick along the tuning iron, then spread it evenly across the base with the iron. Let it cool completely to room temperature, then scrape off the new wax layer and brush the base until smooth.
From there, you should be all ready to hit the slopes. If you start skiing and feel like your skis aren't responding well, take them to a shop, and a technician can fix them for you.
Bindings
This is a pre-season step many, if not most, people skip. But it is arguably one of the most important. As we all know, knees are fragile in skiing, but there are ways to help avoid potential injuries, like getting your bindings tested.
Only a certified ski technician can do this, so this is not a “try at home” process. Depending on how your ski shop words it, you can ask for a binding test or binding safety test.
From there, you’ll give the technician your age, weight, height and skier type (don’t let your ego get the best of you here; answer truthfully). They'll then use those numbers to calculate your DIN. This is the number your toe and heel bindings are set at to ensure proper release and hold.

Photo: Elise Sterck

Photo: Elise Sterck
You'll need to leave one boot with the technician, as they'll put a fake foot and leg inside the boot and click it into the binding. They'll test the forward and backward release, as well as the twisting release to the right and left. This can be done using a calibrated machine or physically by the technician.
When the boot is forced out of the binding, a release value is measured, and the technician checks whether that number falls within the acceptable range for your DIN setting. If the numbers don't fall within that range, the technician will fail your bindings and mark them unsafe to ride. From there, the decision is up to you, but buying a new pair of bindings is cheaper than surgery.
We hope these tips and tricks inspire you to get ahead of the game so your skis are prepped and ready to rip on opening day.
![[GIVEAWAY] Win a Full 26-27 Ski Setup from Fischer](https://www.datocms-assets.com/163516/1790101711-00012060-edited.jpeg?w=200&h=200&fit=crop)