

All Imagery: Courtesy of MountainFlow
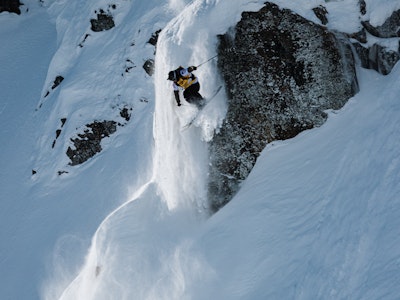
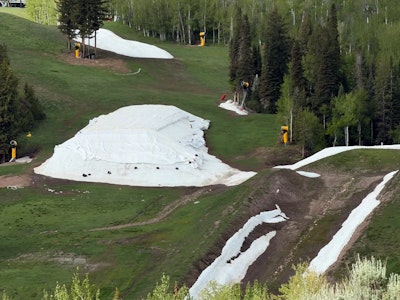
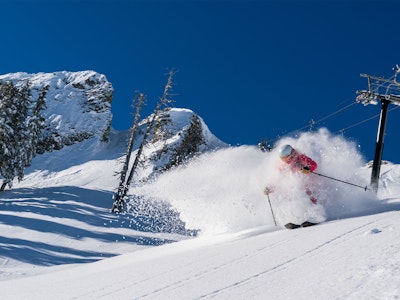
So, you’ve finally hung up your skis after 100-something days on the snow, five ACL scares and countless chairlift beers. Congratulations. You’ve earned a summer of sunburns, river dips and pretending you like hiking. But, before you stuff your planks away in the dusty corner of the garage, there’s one more ritual of the ski season to be completed.
That’s right, it’s time to wax your skis.
Oh, you thought that was over. No more glorious days on the snow equals no more nights sweating over a hot iron. Sorry, not yet. You’ve heard whispers from ski shops, mutters from your one friend who still rips through June. But you’ve never actually done it yourself, have you? Don’t worry, we can all be first timers. Here’s our guide to preserving your skis through the dark months, so they’re ready to rage with you when Ullr returns next winter.


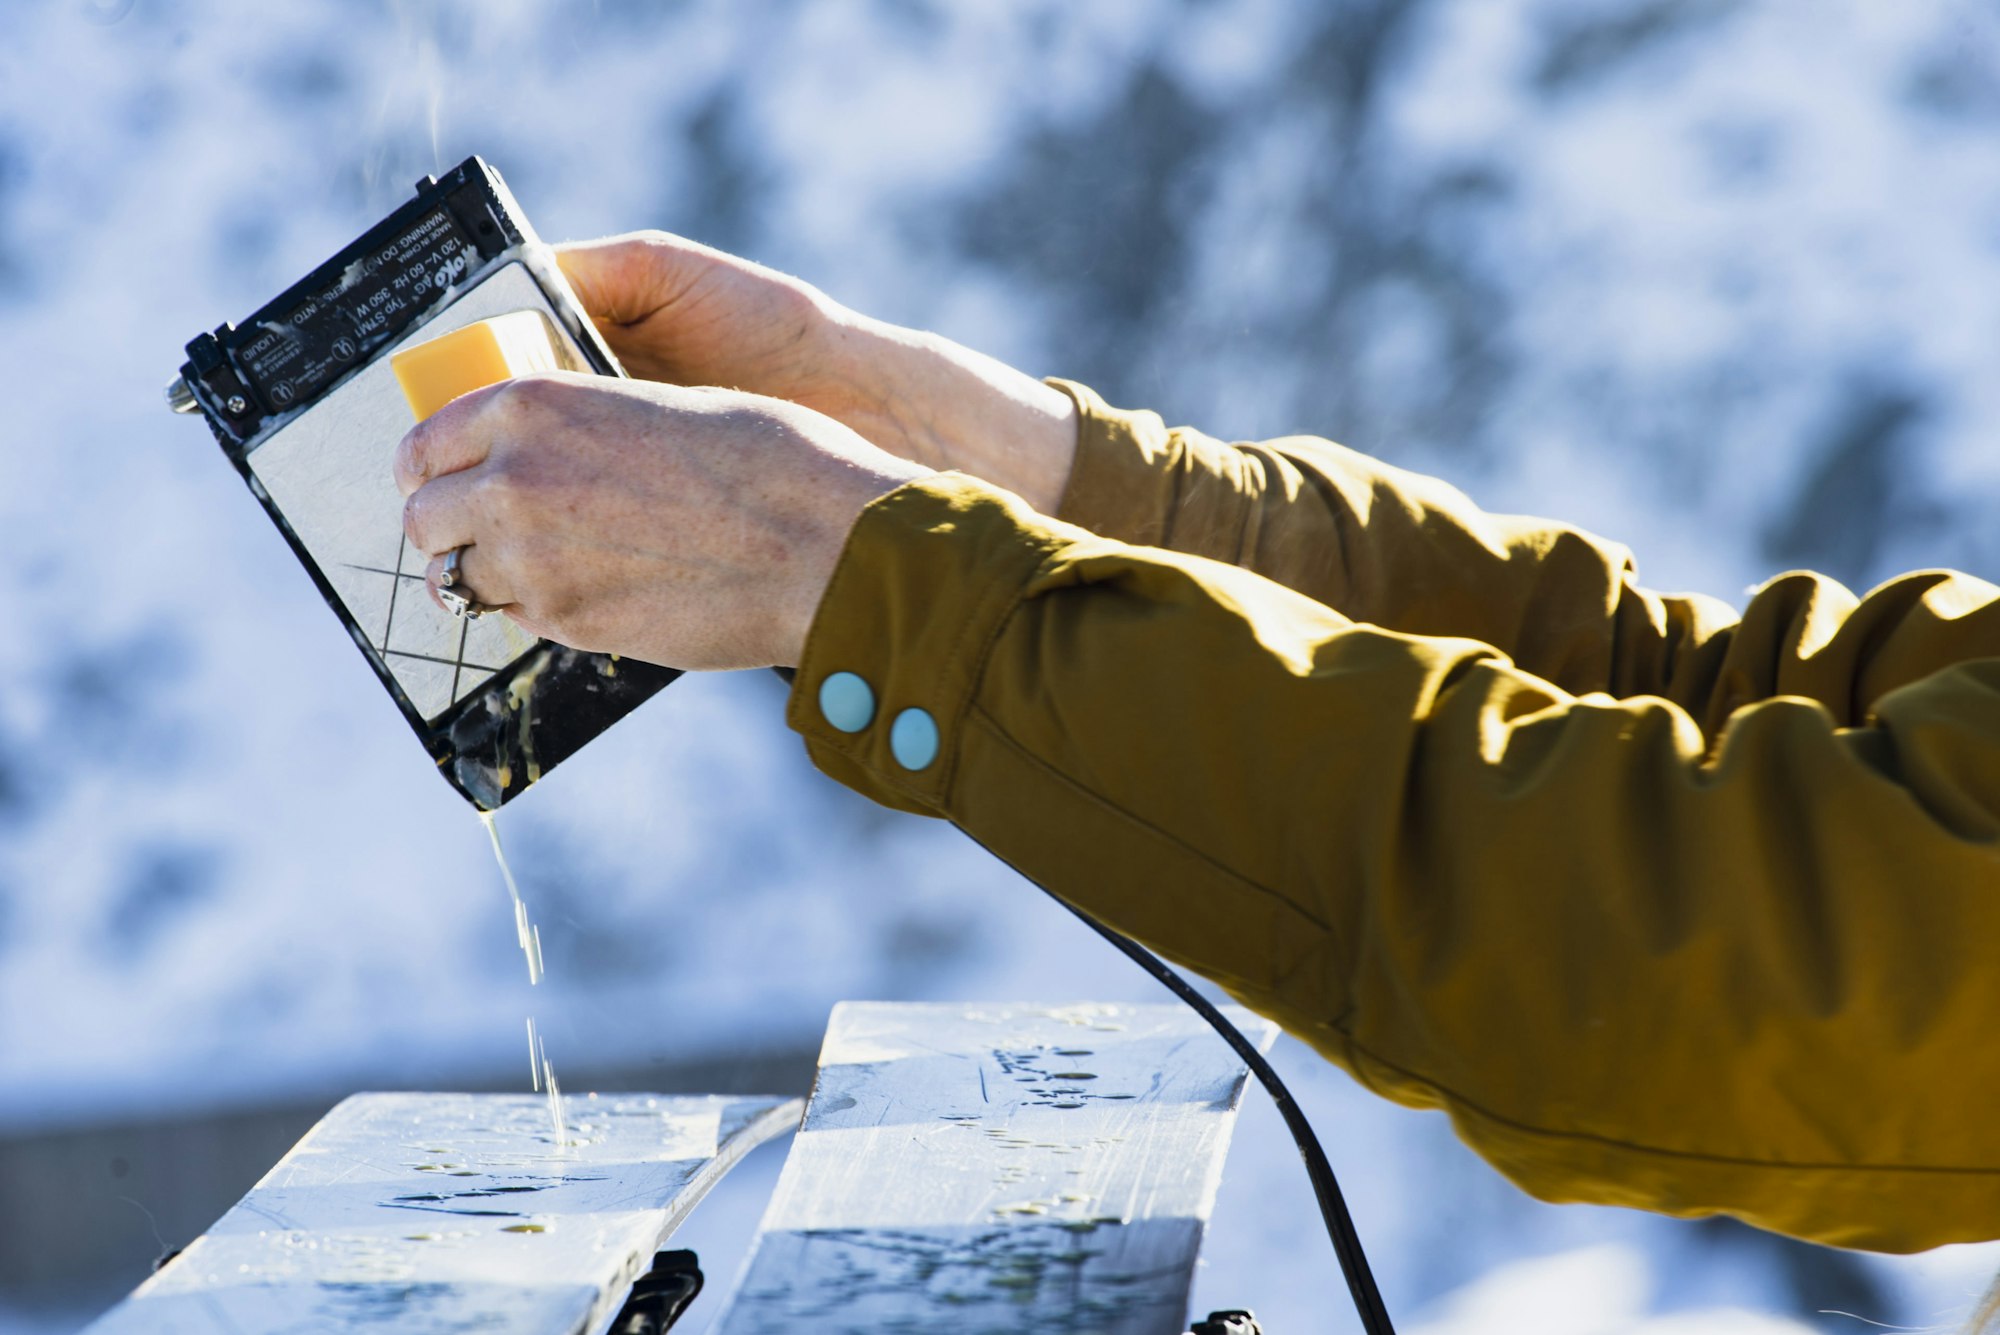
Pro Tip: An Infrared (IR) Waxer from MountainFlow paired with their plant based, biodegradable performance wax gets the job done right
Step 1: Say Goodbye
First, set the vibe. Light your favorite candle. Play something moody on a loud speaker. Let your gaze linger on your top sheets that you never fully appreciated when they were covered in snow. If you didn’t fully appreciate your skis all season, now’s the time to make amends.
Step 2: Clean Up
You wouldn’t dare put away your skins covered in pine needles and dog hair. The same logic applies to your skis. All that brown slush you carelessly rode over while you were basking in the season’s last turns is still caked onto your skis. Wipe down your bases with a wet rag to get rid of surface debris, and hit them again with some base cleaner to finish the job. Pro Tip: DO NOT USE RUBBING ALCOHOL!
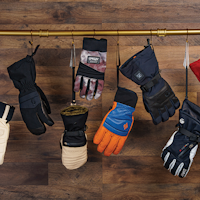
Step 3: Pick the Right Wax
In an ideal world, you’d use some softer, warmer weather wax for a summer storage job. Realistically, you are going to use the almost-finished sliver of whatever wax was on sale when you got it. Apply that stuff liberally. Like sunscreen on your face for closing day with UV 14. The goal isn’t to be speedy, just to keep your bases from drying out like the slopes this July.
Step 4: DO NOT SCRAPE
This might seem counterintuitive to every piece of waxing knowledge ever bestowed upon you by your local shop techs, but it is the key to a summer wax. No scraping. No brushing. No buffing or polishing. Leave that unmanicured, thick layer of wax on your bases ‘till winter comes back to play. Think of it like a sleeping bag for your skis this summer.

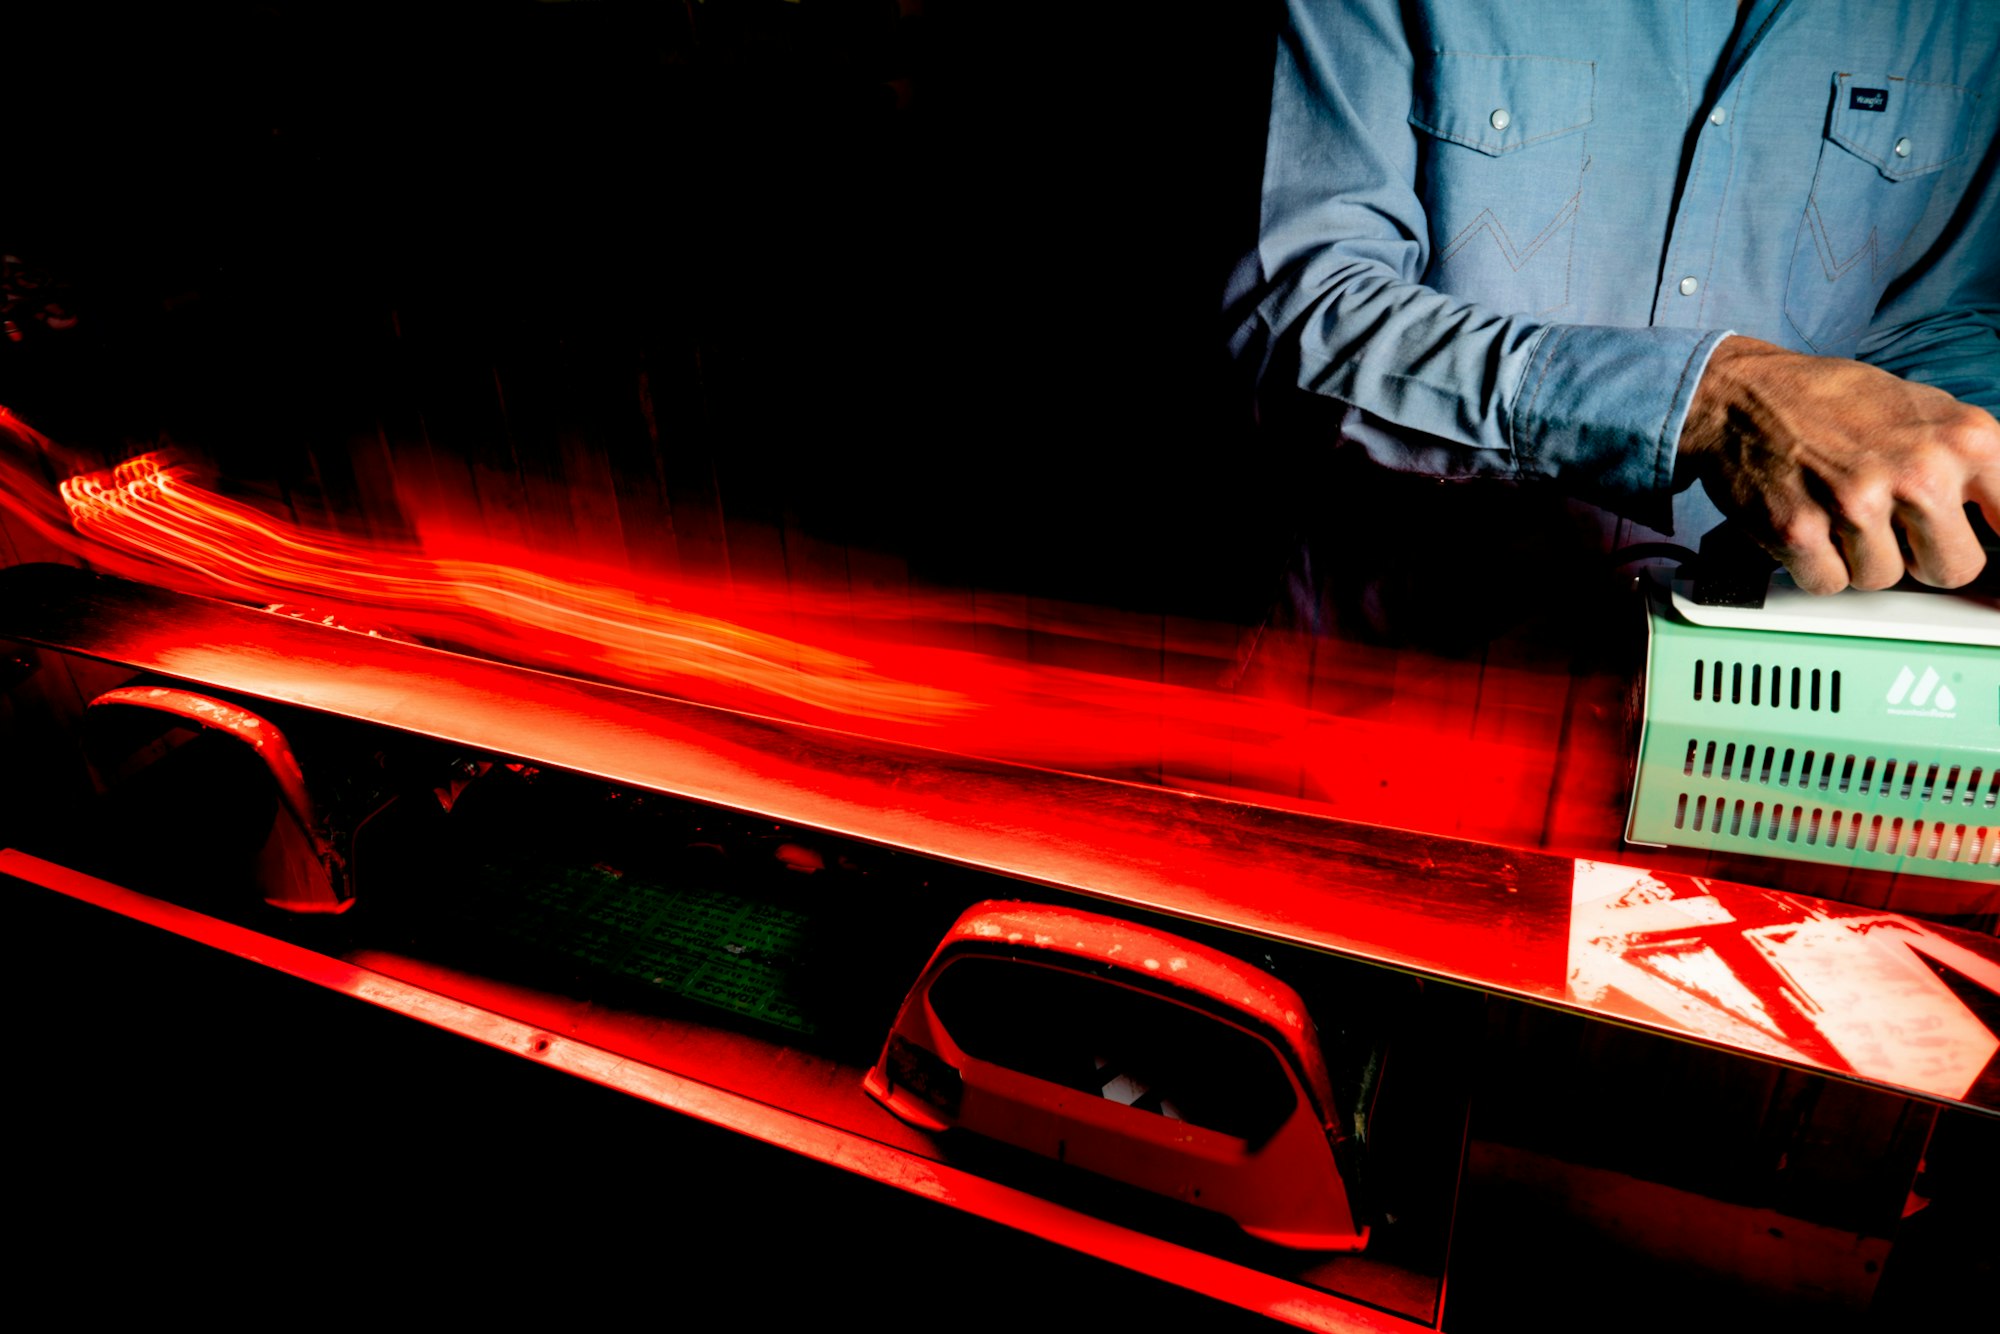
PHOTO: Courtesy of MountainFlow
Step 5: Store With Care
Find a nice cool and dry place. Not the trunk of your car, or your rust-ridden Thule. And definitely not your dank, humid basement. Ideally, your skis should be stored horizontally or vertically, with no pressure on the camber as to not warp the shape. Find a nice corner to display them in your bedroom, living room, kitchen, we won’t judge.
Step 6: Forget You Did Any of This
That’s it, that’s all. Go enjoy a summer of counting down the days until the first flake falls. Get an IPA. Get two. Endure a sunburn and thoughts of deep days months ago.
Go forth, wax wiz. Winter will return soon enough. When it does, your bases will be ready.