Featured Image: Courtesy of LINE Skis
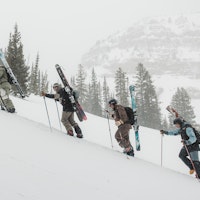
While nothing can beat hitting rails on real snow, the convenience of a backyard setup in the summer will have you forgetting all about that. Few things can beat the luxury of dialing in your 270-out while the sun beams down! So grab your buddies and go on a trip to the hardware store because it’s time to start building.
You could technically do this project solo, but I’d recommend getting your friends in on it, as it would be quite a feat to do alone, and skiing is always better with friends anyway. Below you'll find FREESKIER’s complete list of all the materials and steps needed to get your ultimate backyard terrain park firing. Happy jibing!
Need some ultimate inspiration? Check out Kevin Salonius' 2016 backyard rail edit.
1. Ramp and drop in
First things first, you're going to need a ramp. The ramp will be the most intensive part of this whole project, as it requires the most steps to build. Instead of making you read through all the steps, we picked a video to show you how to build a ramp. Of course, you don’t have to follow the video exactly, and you can change the dimensions, but it gives you a good idea of where to start when building a ski ramp.
2. Pretend Snow
Unless your backyard is in the tundra or on the peak of a mountain, you're going to need a material to take the place of snow. There are multiple options for synthetic snow, but I’ve broken it down to two. For a much cheaper alternative, turf from your local hardware store will work just fine. However, you'll want to spray the surface regularly with a mixture of dish soap and water, as this helps skis glide more easily.
While this next option is a bit pricier, it is designed for skiing without snow, so it is a very reliable choice in the long run. The brand mSnow is a synthetic snow surface that comes in mat-shaped sections to simplify the application process. The mats have divots on the surface, which allow for better edge hold, so you can turn more easily.
The brand sells these mats in kits that include everything you’ll need to apply the surface to a ramp, as well as wax for your skis to make skiing on it a seamless experience. The kits come in small, medium and large with different prices as well as different colors (orange and black).
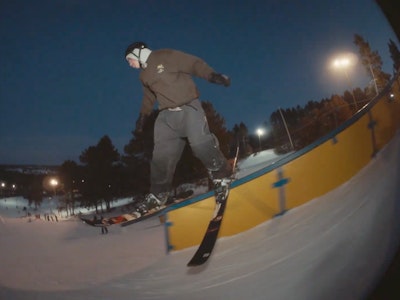
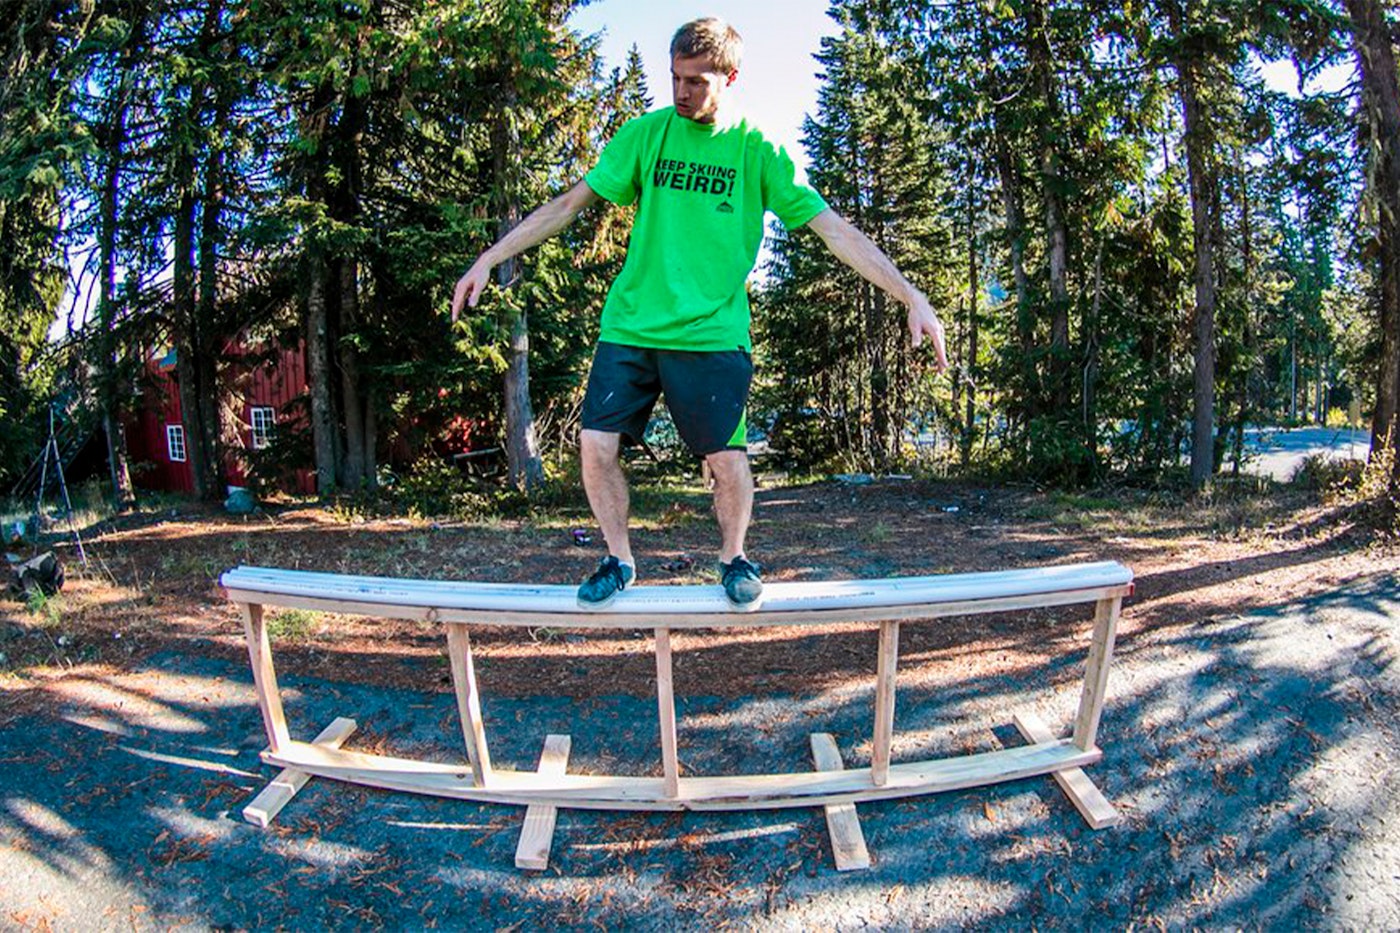
3. Rail
Next, you’ll need to build the rail. Not to worry, though, because FREESKIER already found a video with LINE Skis and Kevin Salonius on how to build a backyard rail setup. The only materials you’ll need are wood, a PVC pipe, screws, a woodcutter, and a drill. If you don’t want to buy a brand-new PVC pipe, many dump sites have perfectly acceptable PVC pipes lying around.
4. Landing Pad (Optional)
Your landing pad depends on the type of tricks you're doing. If you're doing tricks like a 50-50 or 180, then you might just need some extra turf on your landing side. But if you're doing bigger spins out of the rail, like a frontside 630 out, you might want to consider adding more supportive padding on the landing side. For example, bouldering crash pads are a great option.
Now, if you want to get really fancy, there are nice airbags designed for impact landings. Brands like DD Airbags can give you an idea of the type of airbag, but most of the bags they manufacture are for much larger ramps and outdoor spaces. So unless you're planning on building something that'll send you to the moon, which we don't reccomened unless you're an experienced craftsmen, or Nick Goepper, then you won't need to worry about it.